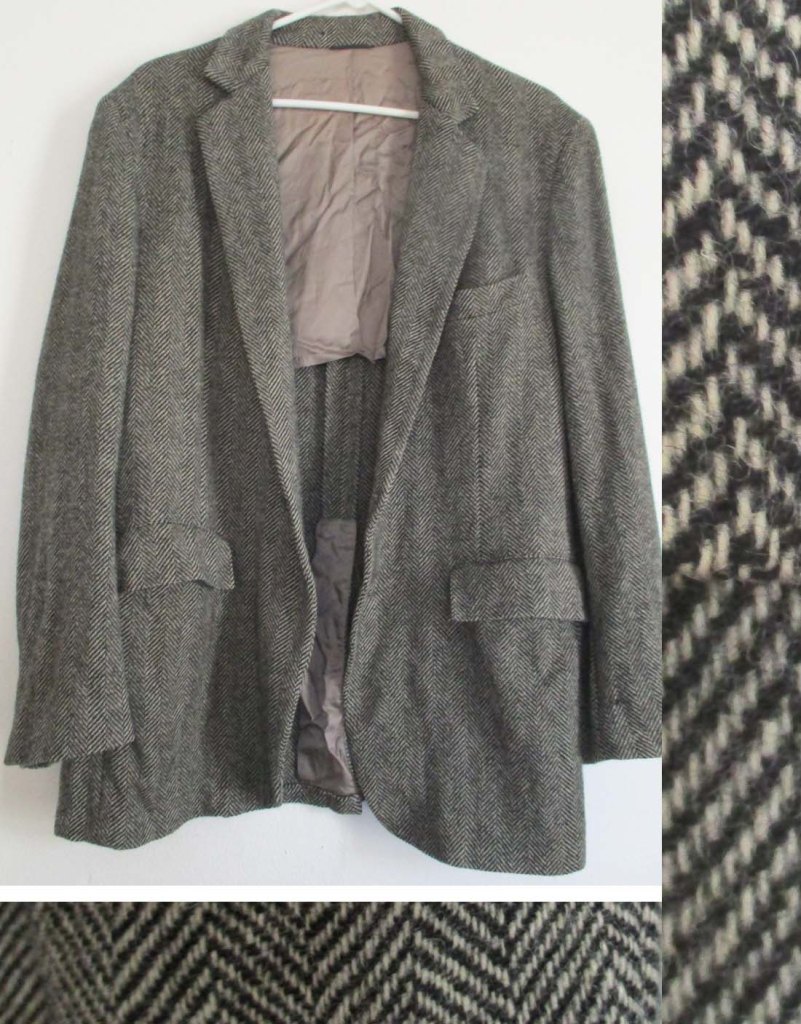
I love vintage wool and linen fabrics. A beautiful weave is a sensory pleasure. Herringbone twill in particular gives me that warm, nostalgic feeling because of the suits my father wore to work a long time ago. As an inveterate thrifter, I bought some wool sport coats to repurpose, but finding the right project took some thought. I am not into throw pillows or tweed purses. If I made them and didn’t use them, it wouldn’t really be repurposing, would it?
Then I was trying out this Viking hood pattern, and there’s this bag of suits that I haven’t done anything with, and would it work? It seems like a bad idea, which makes it more interesting than a good idea. And the hood would have pockets! What could go wrong?
Don’t worry about my wasting a good suit. It had a couple small holes and stains that didn’t come out after washing.
First, I gave the suit a bath. It was a 40R before going into the bath, but it may have shrunk a bit. If you start with a size 46 or higher, you may not need to piece a gore into the back of the hood, but that depends on your hood size.
After the suit dried, I ironed it with plenty of steam.
Seam ripper time! I pulled out the synthetic lining and the padding and cut the suit into 2 halves. I also detached 2/3 of each sleeve, but left the front to top of each sleeve attached so it can become a liripipe without more piecing.
I debated whether to place the front of the hood at center front or center back. Then I realized if I place the face at the center back of the suit, the pockets will be on the back side of the hood. That won’t do!
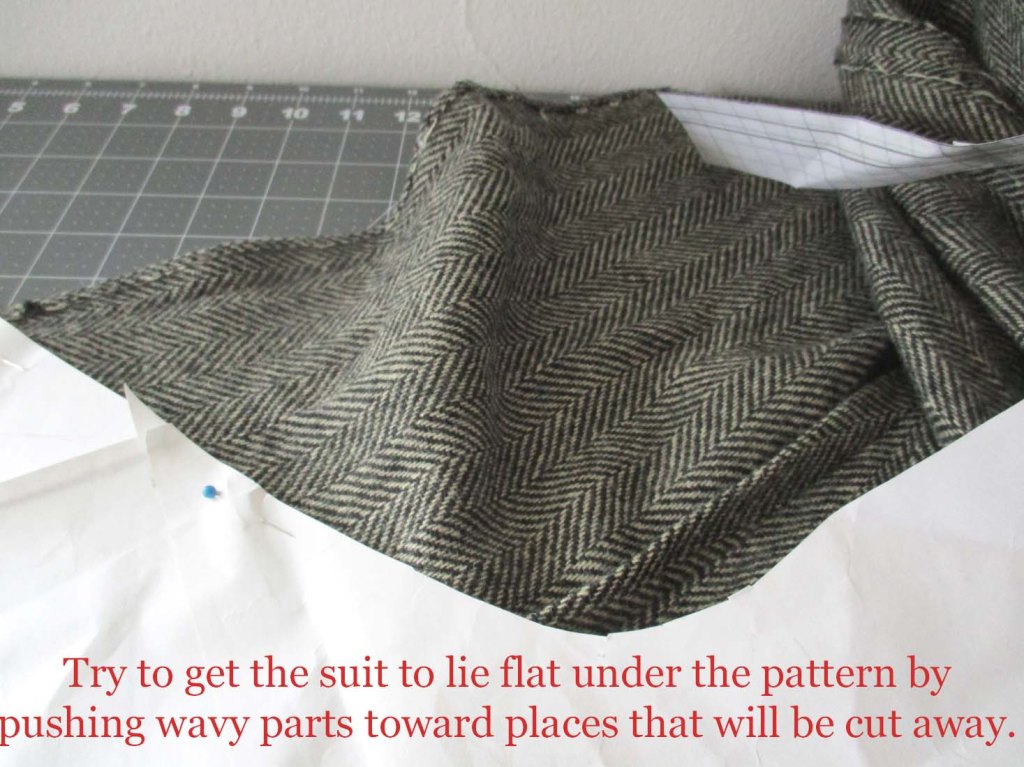
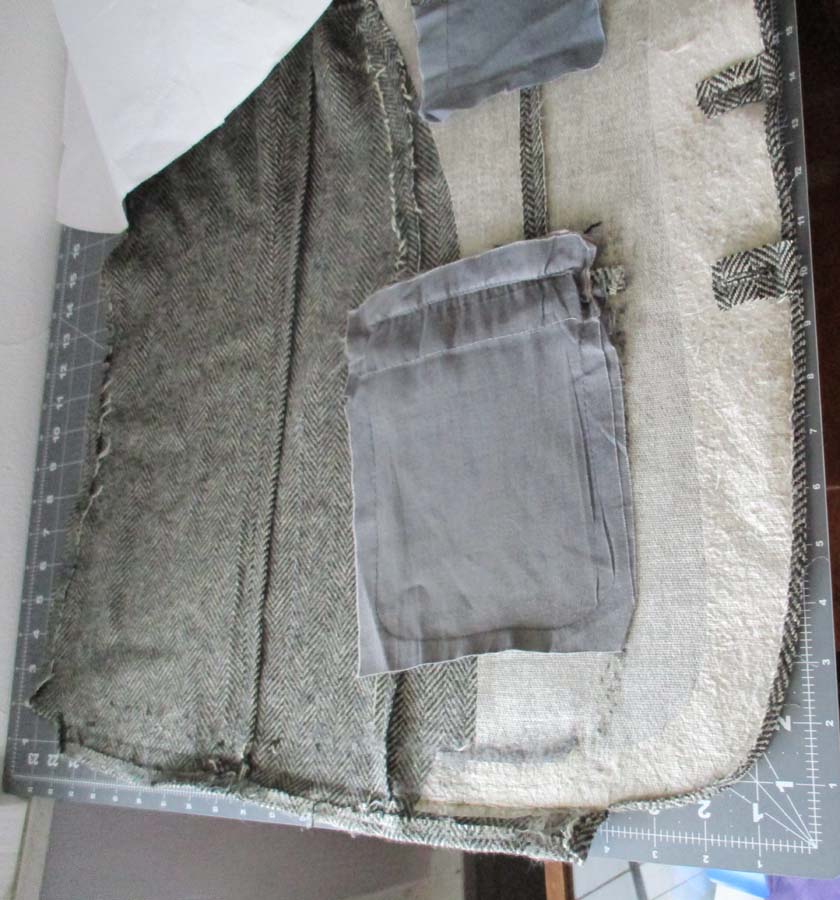
Then I started working out how to lay out the pattern. The suit was made to fit a body and doesn’t lay flat even after ironing. I decided to cut each half of the hood separately. I also decided to cut the bottom half of the hood from the body of the suit, then repin and cut the top of the hood from the sleeve.
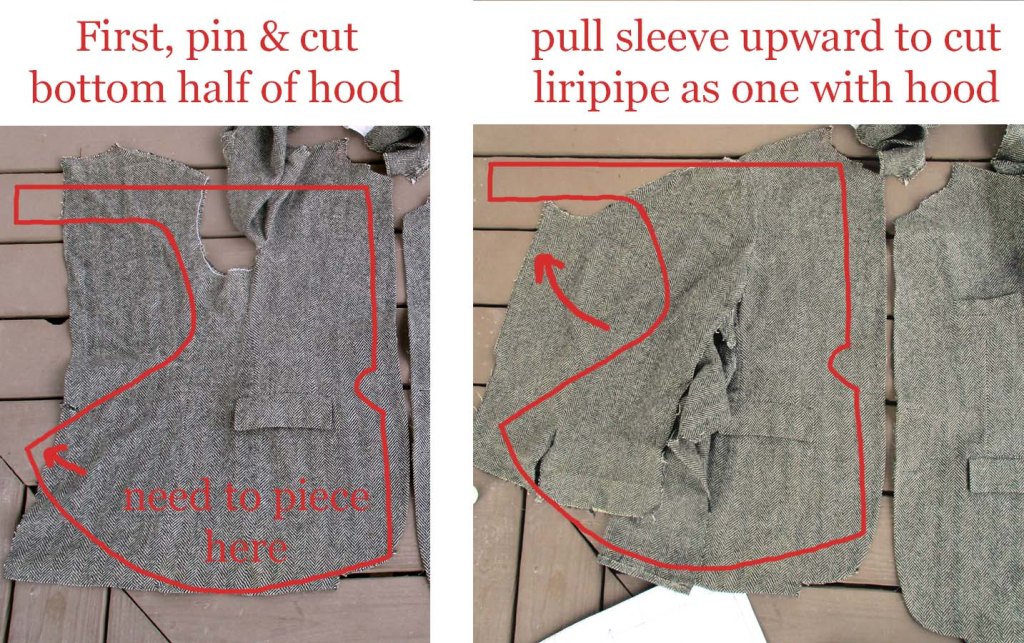
The sleeve and the underarm had a large overlap. I had to decide which to keep for my hood (sleeve) and which to cut away (the underarm) and machine stitched the edge of the join. I later covered the machine stitching with hand stitches.
When I laid out the pattern, I marked the pattern so I could cut the second half to match the first (aligning pockets and gores). Once the first half was cut out, it was a little wonky. I decided to turn the cut hood over to cut the second half instead of using the pattern, the better to align the pockets.
This is when I remembered that piecing takes 2x-3x longer than you think it should. Do not start a piecing project if your serotonin or dopamine levels are poor, or it will still be wadded up in a corner 6 months later! I also realized, looking at the back of the fabric, that it looks awful and that I will have to line the hood in order to like wearing it. I don’t want that touching my hair!
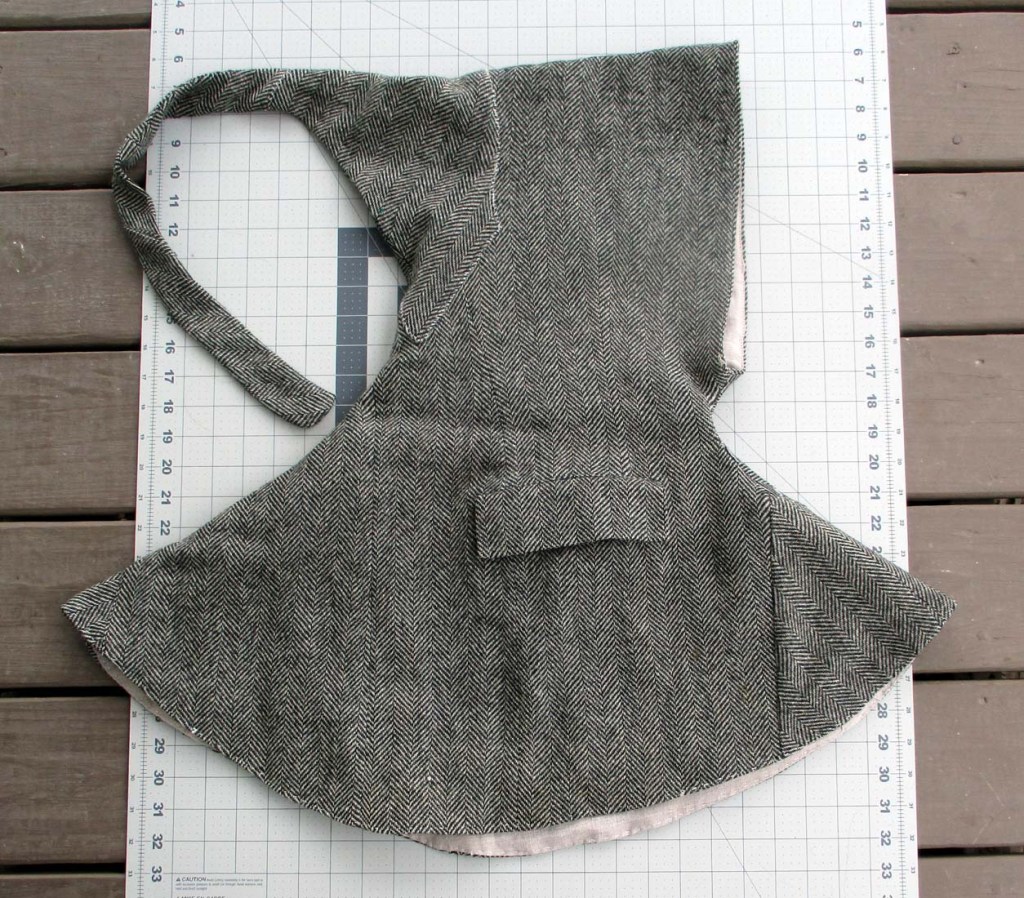
The pockets are at my collarbone, and after I insert the front gore, they will be at a jaunty angle. I’d rather have them lower down, but then the pocket bag would show under the hem of the hood. Not much I can do there.
Lining a hood (sewing a lining, sewing it to the wool inside out, turning it right side out and finishing the edges) takes time. Not as much time as piecing. Then I realized I will have to do all the hand stitching before lining the hood.
Then I realized that hand stitching the hood with anything other than wool will not look right, and it would need a very thin wool yarn. Fortunately, my local independent craft store had what I needed! Thank you Busy Beaver! I am sure I would have run out of interest by the time it was mailed to me.
I keep a hot iron ready and press each seam after sewing it. This gives a more professional look to the hood when it’s finished and keeps bulky seams from making the liripipe lumpy, especially with thicker fabrics.
Assembly: Sew the hood inside out. You will turn it right side out later.
Sew the 2 tail pieces together along one long edge. Press. Sew the top of the hood pieces together. Press. Sew the tail pieces to the hood along one short edge. Press. Sew the 2 remaining edges of the tail pieces together and continue down the back seam of the hood. Press. Sew the short under chin seam. Press. Insert front gore. Here is an excellent tutorial on how to insert a gore (godet).
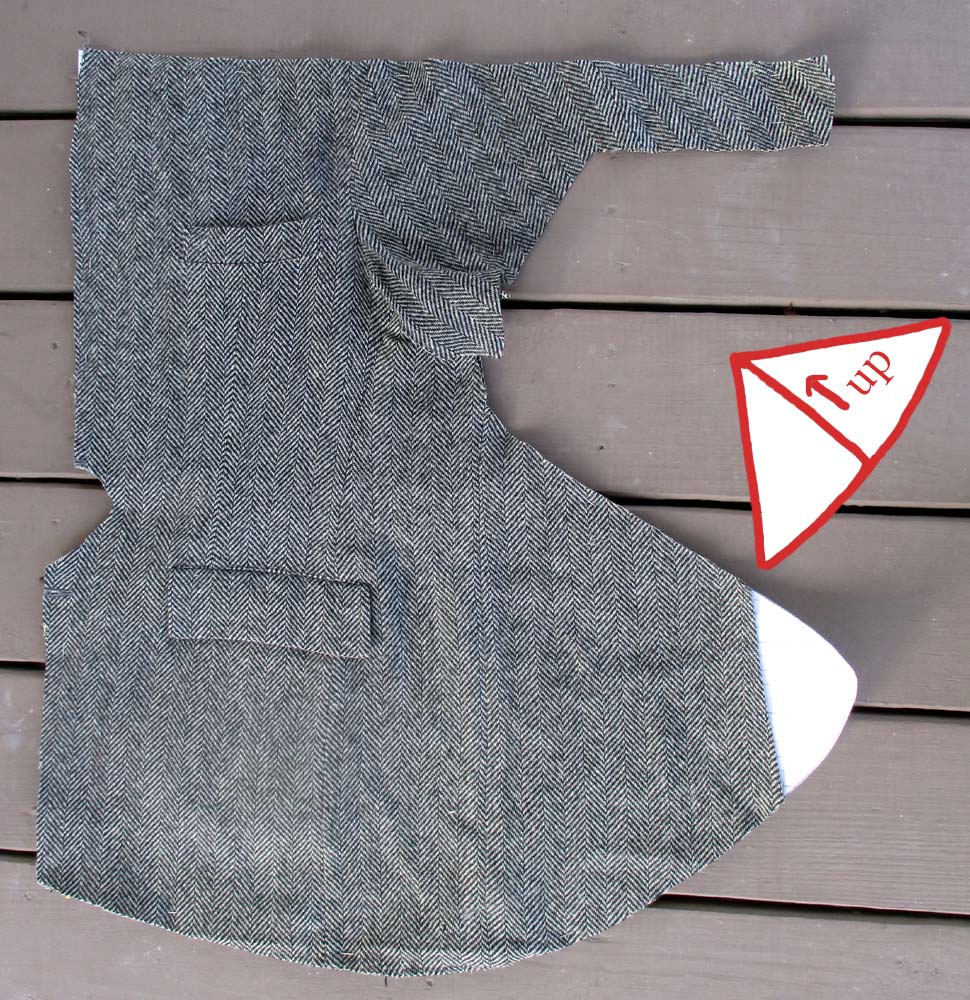
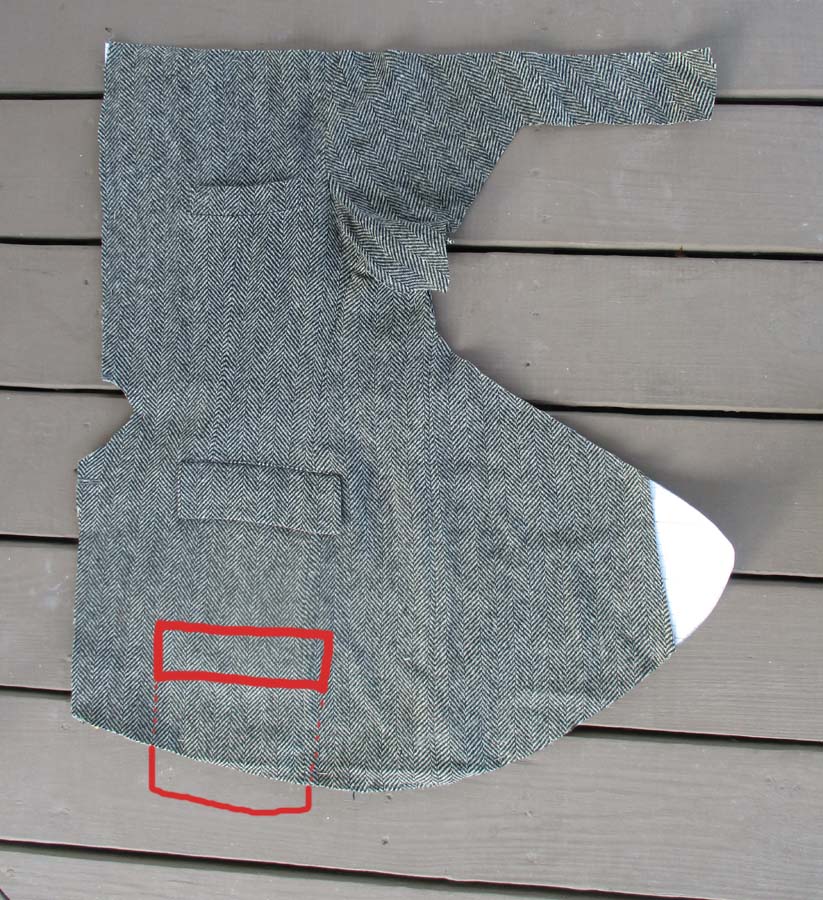
Ok, time to take that missing piece, double it in size and add seam allowance to make a back gore. Insert that too.
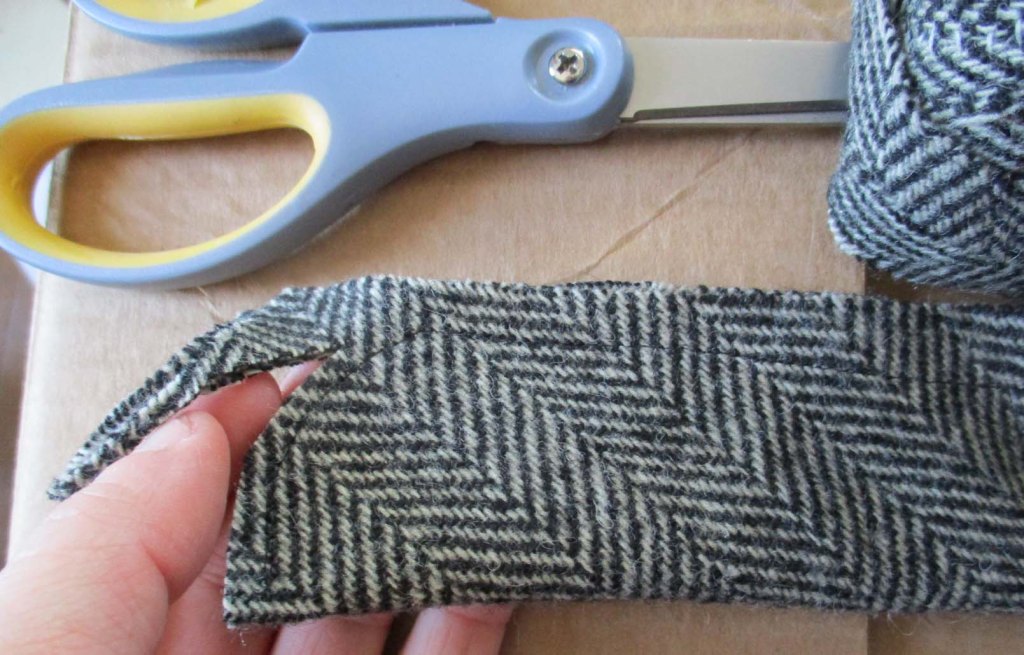
Trim the excess fabric from the tail to cut down on bulk.
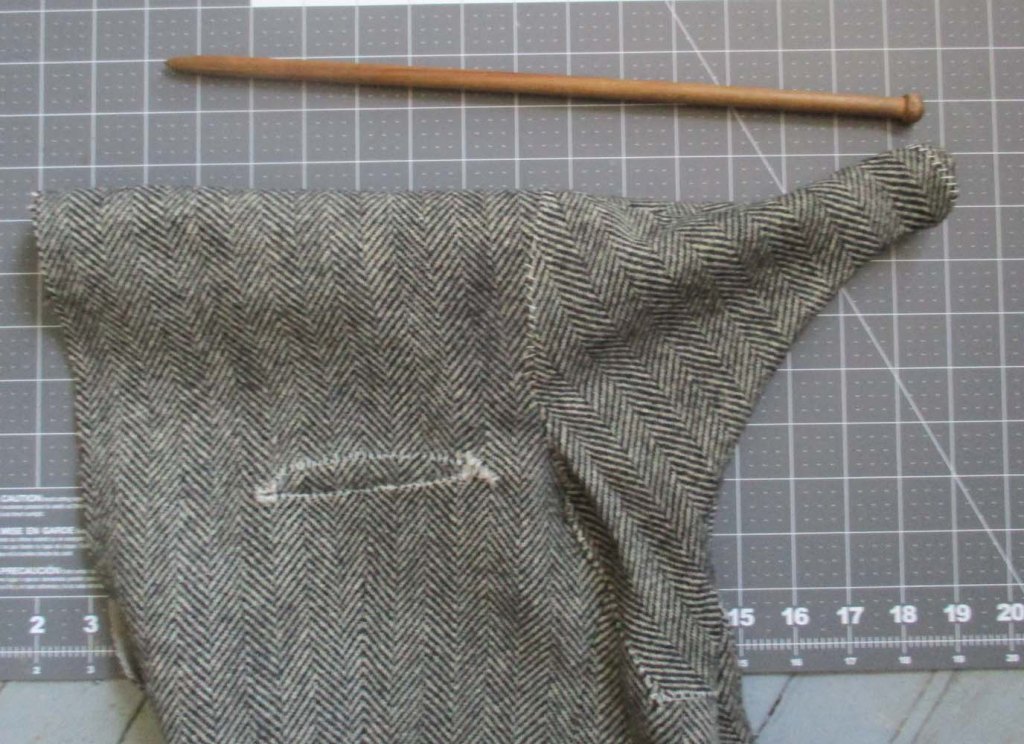
Turn tail right side out with a combination of pulling with your fingers and pushing with something long and not too sharp. A Sharpie works, but this vampire-slaying knitting needle was handier. I used the blunt end.
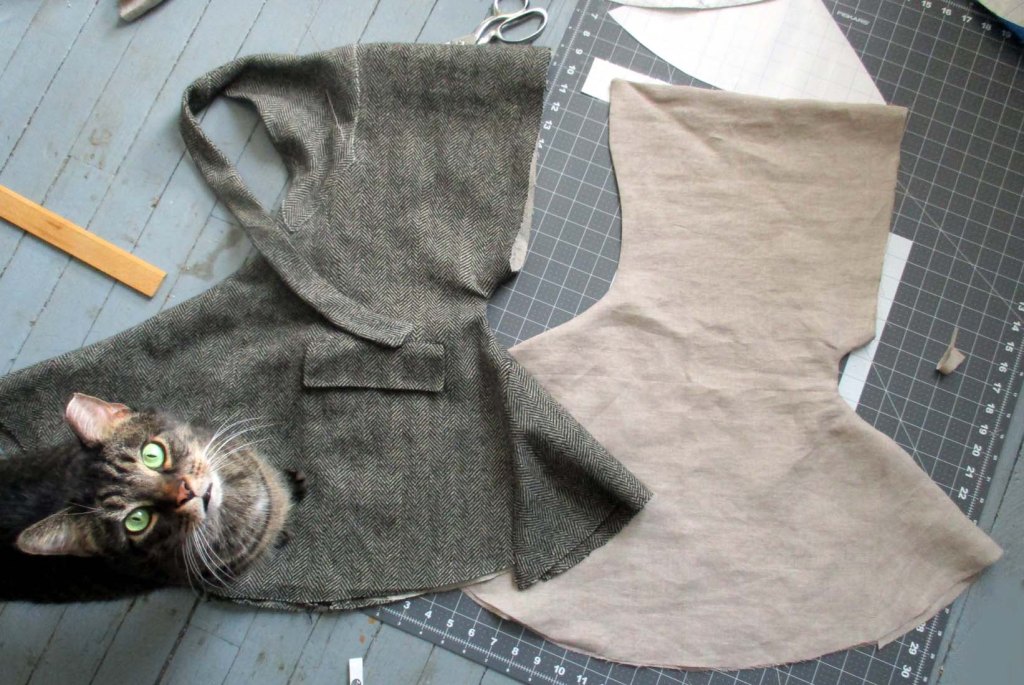
I made a lining of lightweight linen. A tail isn’t necessary and would only add bulk.
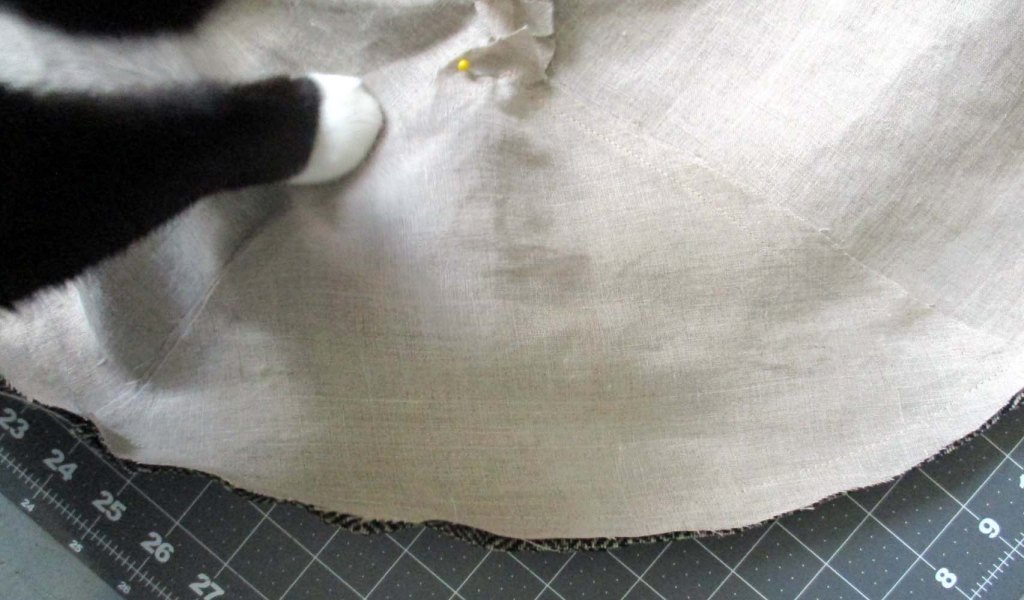
Mac is showing how to match points and seams with pins on a gore before sewing the shoulder hem. The linen lining is shifty so this prevents skewing. I sewed the shoulder hem and the face hem, leaving a little space open to turn the hood right side out. But then THIS happened:
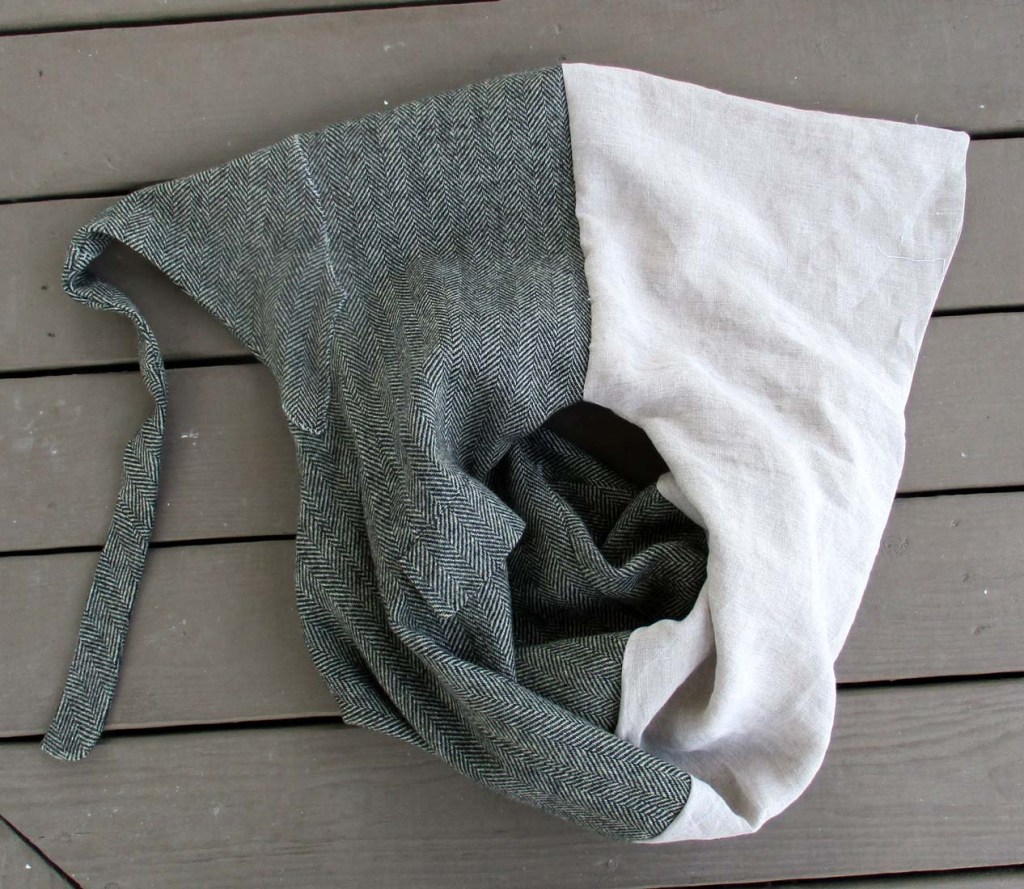
See how the face hems are kissing and the shoulder hems are hugging but the lining is not actually inside the hood? Learn from my example: on closed hoods, one can sew together the shoulder hem OR the face hem inside out, BUT NOT BOTH. Or you get this Moebius loop instead.
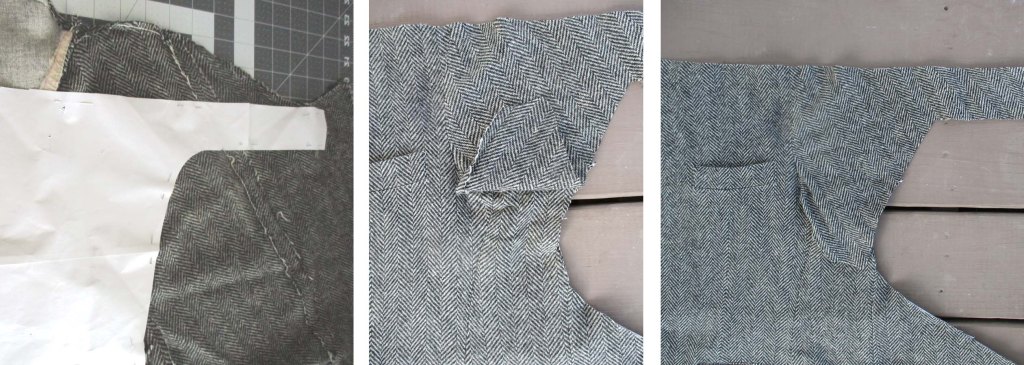
This was chucked into Time Out for a few weeks but I did finish it by seam ripping and then hand stitching the face edge. Since I put so much effort into the sewing, I took a lot of pictures, trying to capture the rustic quality of the materials.
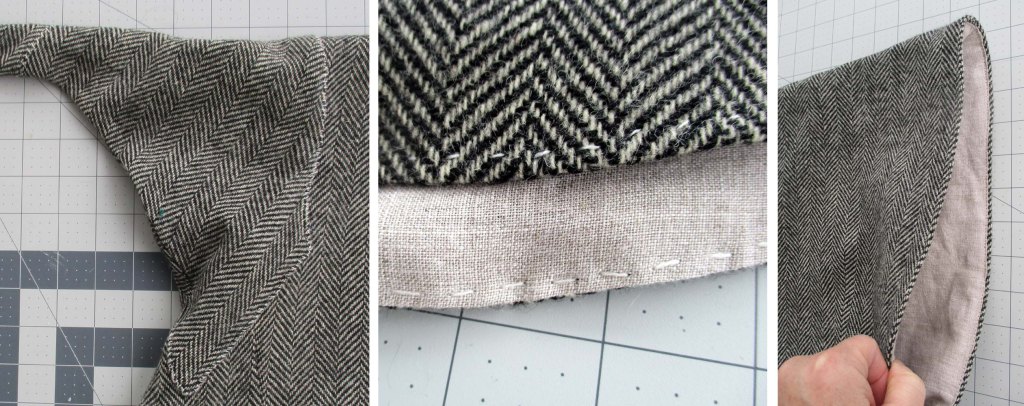
Left to right: piecing at back of hood, closeup of wool& linen, face of hood.
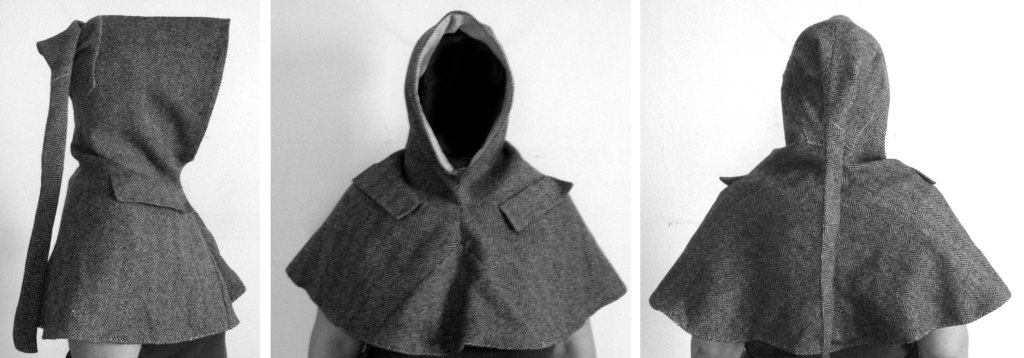
When the Nazgul has a business lunch.
It has a lot of character…. What do you think?

Leave a comment